


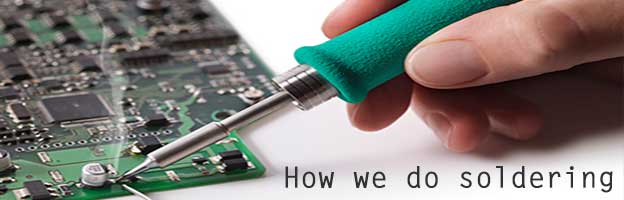
![]() Soldering: Here is what works!
Soldering: Here is what works!
Struggling with soldering and ruining your LED(s) and printed circuit board (PCB) or metal core printed circuit board (MCPCB) is easy to do without the proper tools, materials and soldering technique. To help avoid common issues with LED soldering we looked back on our 20 plus years of electronics experience and outlined here all the “dos & don’ts” for soldering to LEDs. Our intention is to help save you time, money and avoid frustration so maybe you try a second LED project with us! Additionally, there is a video at the end that shows the process in action.
Understanding Solder & Electrical Connections
Lets start simple…
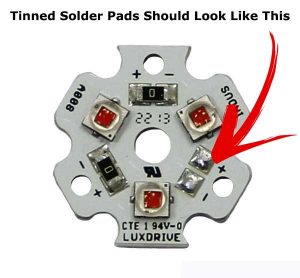
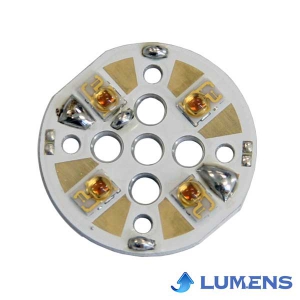
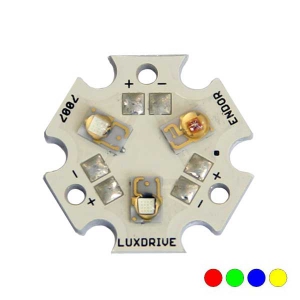
MCPCB LED Star
Solder is a conductive material that melts around 400 degree Fahrenheit and allows two pieces of metal to connect in a circuit. A standard ‘point-to-point’ connection is two leads, lets say the cathode of an LED and the anode of a second LED twisted and soldered together; this is more efficient than simply just twisting leads together. Another common type of solder connection is found on PCBs and MCPCBs, where there are conductive traces in a board that lead to components where a solder connection is made. Most of the soldering we encounter is with LEDs on MCPCB, which you can see on the right and we show an example of in the video below.
Here is an important tidbit to remember…
Solder is normally 60 percent tin and 40 percent lead with a rosin flux core (center of the solder). The rosin core is worth mentioning because it removes impurities on the contacts and improves the electrical connection; basically, it helps the solder stick to the contact pad. Because getting solder to flow and stick to a surface is sometimes difficult, knowing the flux is in the center of the solder means you can help avoid that problem by purposefully melting the center of the solder directly to the surface. This gets the rosin flux on the surface first and aides in getting the solder to adhere to the surface.
Having & Maintaining the Right Tools for the Trade
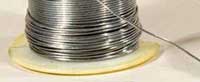
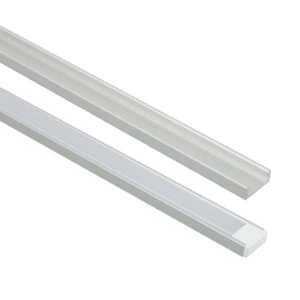
0.20mm Thick Solder
Solder: We prefer solder with a 60/40 tin to lead composition and a thickness of 0.20mm. This thickness of solder is perfect for almost all our applications and it’s what we recommend. The details on the solder that we use are here.
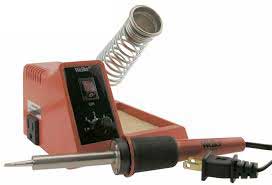
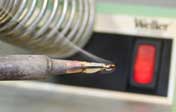
Common Soldering Iron
Iron: Having a quality solder iron and different size tips makes any job easier and faster. Many of the issues we see coming from customers stem from cheap irons and small tips. If an iron isn’t powerful enough or the tip is too small, then the surface temperature never gets high enough to flow the solder evenly. We recommend at least a 30-watt iron, unfortunately these can be expensive and if you aren’t planning on doing much soldering, that expense can be difficult to justify. There are inexpensive Solder Irons out there that will work for small jobs, but if you have a lot of soldering to do and want to minimize hassle and increase longevity, do yourself a favor and buy a nice iron. For our own LED projects and the LED kits we build for customers we use an iron like this one.
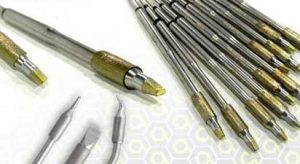
Soldering Iron Tips
Solder Iron Tip: Because not all solder pad surfaces are the same size, often solder irons come with interchangeable tip sizes; some have fine points and others have wider wedge style tips. Matching the size of the tip to the size of the surface can make heating up the solder pad much easier. If you are unable to get solder flowing on the pad, it’s probably because the iron tip is too small and not spreading the heat over a wide enough area.
Another tidbit…
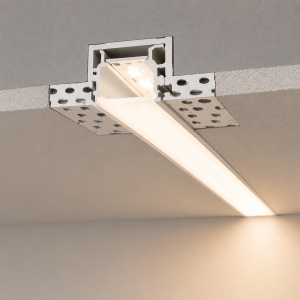
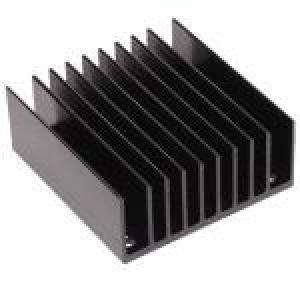
If your high-power LED(s) are going on a heat sink (which they often do) it makes sense to make your solder connections before securing the LED to the heat sink. When trying to solder to an LED that is already on a heat sink, the heat sink can sometimes absorb all the heat from the iron and make heating up the surface of the solder pad almost impossible.
Here is How to Solder to LEDs
Tinning soldering iron tip
Tin the Tip: Trying to solder without a tinned tip is futile. To properly tin the tip of an iron apply solder to the tip and coat it thick. The next step is to wipe off the excess solder with a wet sponge and finally reapply a little amount of solder to the tip again.
Cleaning the soldering surface
Clean Solder Surface: Obviously the more clean the surface, the better. Ideally make sure the surface is free of dirt, dust, epoxy or anything else.
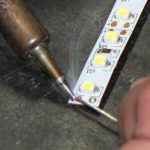
Tinning a soldering pad
Tin the Surfaces (Wires, Solder Pad or PCB): In our video we show an example of soldering wires to a Cree LED star, but before making the final connection the wire leads are first tinned. Similar to tinning an iron, the wires get a thin layer of solder applied to them; it’s important that the solder sticks to the wire. Remember the suggestion above about the rosin being in the middle of the solder; using the middle of the solder helps it stick to the wire better. Also, in the example in our video the solder pad surface getting tinned too. Apply a tinned tip iron to the solder pad and begin applying solder to the pad. The solder should flow evenly over the entire pad and once it does remove the iron and let the solder firm up.
Final Connection: At this point all the hard work is done. With a nicely tinned tip and surface, simply touch the two pieces being solder together with the iron. The solder on each surface should flow; quickly remove the iron and when the solder hardens, both the components should be soldered together.
Can Soldering be Difficult?

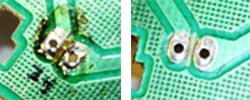
Ruined LED from soldering
Yes. Don’t get too frustrated at first if you ruin a component or two – we have all done it! Remember that the irons are hot and LEDs don’t like too much heat. Be careful with the temperature settings on your iron and how long you apply the iron to the surface. Most of the time it shouldn’t take longer that a few seconds to get solder to flow and stick to a surface. If it takes longer stop and double check this post and watch the video again.
Help Add Tips?
If you have questions or suggestions of our own please leave a comment and we can add them to the post!
Soldering LEDs in a Video!