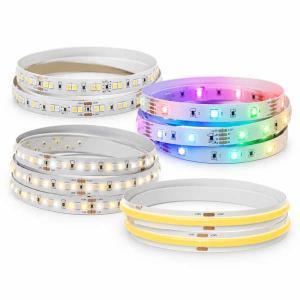
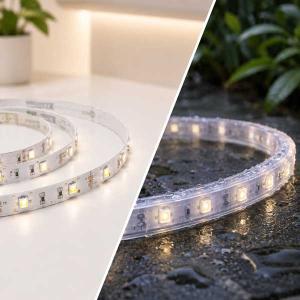










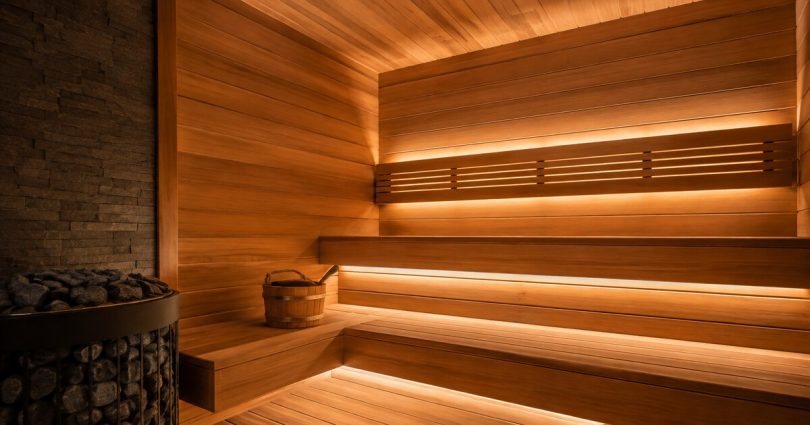
A relaxing sauna atmosphere starts with comfortable, well-controlled light—and a strip built for heat and moisture. High-temperature TPU/silicone encapsulation and a -30°C to 90°C operating range support dependable illumination in LEDSupply’s 24V Element Series sauna strips, alongside IP68 ingress protection.
For lighting designers, sauna manufacturers, contractors and millwork professionals, the goal is more than a strip that turns on: it is the intended CCT, natural-looking finishes, uniform indirect illumination and a serviceable installation. This guide connects those outcomes to strip construction, color rendering, driver loading, control compatibility, sealed connections and mounting.
The relaxing glow your customers want.
The sauna-rated construction your project demands.
Start with Element Series sauna LED strips, then specify the complete lighting system around the environment and the desired effect. LEDSupply can help review the bill of materials (BOM), select components and prepare custom wiring or assemblies.
Specify Construction for Heat and Moisture
A sauna combines elevated air and surface temperatures, moisture and repeated heating and cooling. The protective housing, electrical connections and mounting method must suit that location. An installation that is difficult to access after the benches and backrests are finished makes correct specification especially valuable.
The Element Series uses high-temperature TPU/silicone encapsulation around the flexible strip. Its published IP68 rating describes ingress protection; its separate -30°C to 90°C (-22°F to 194°F) operating range addresses thermal suitability. These are distinct requirements—one does not substitute for the other.
Evaluate the temperature where the strip will actually be mounted, not only the sauna’s thermostat setting. Avoid direct heater exposure, hot surfaces and recesses that can exceed 90°C. Neither the strip rating nor a photograph establishes that every position inside a sauna is suitable.
Specify the installation, not just the rating
IP68 is not a blanket approval for every hot, wet or submerged application. Follow the documented use conditions and sealing instructions. Drivers, controllers, cables, connectors, mounting rails and lenses need their own suitability checks; they do not inherit the strip’s rating.
Step 1: Choose CCT, Color Rendering and the Lighting Effect
Start with the experience the customer wants. Warm indirect white light can make a sauna feel calm and inviting; tunable white changes the character of the space; RGB and RGBW introduce color scenes. Then translate that design intent into a specification.
CCT and CRI answer different questions
Correlated color temperature (CCT), expressed in kelvin, describes the warm-to-cool appearance of white light. Color rendering index (CRI) describes color fidelity relative to a reference source. For wood finishes, skin tones and material samples, light quality matters as well as color temperature. The fixed-white and tunable-white sauna strips are specified at 90 CRI.
Brightness is a separate decision. Compare published luminous output in lumens per foot where available, then account for diffusion, mounting geometry and dimming. A cooler CCT does not automatically mean more light, and watts per foot describe electrical load rather than perceived brightness.
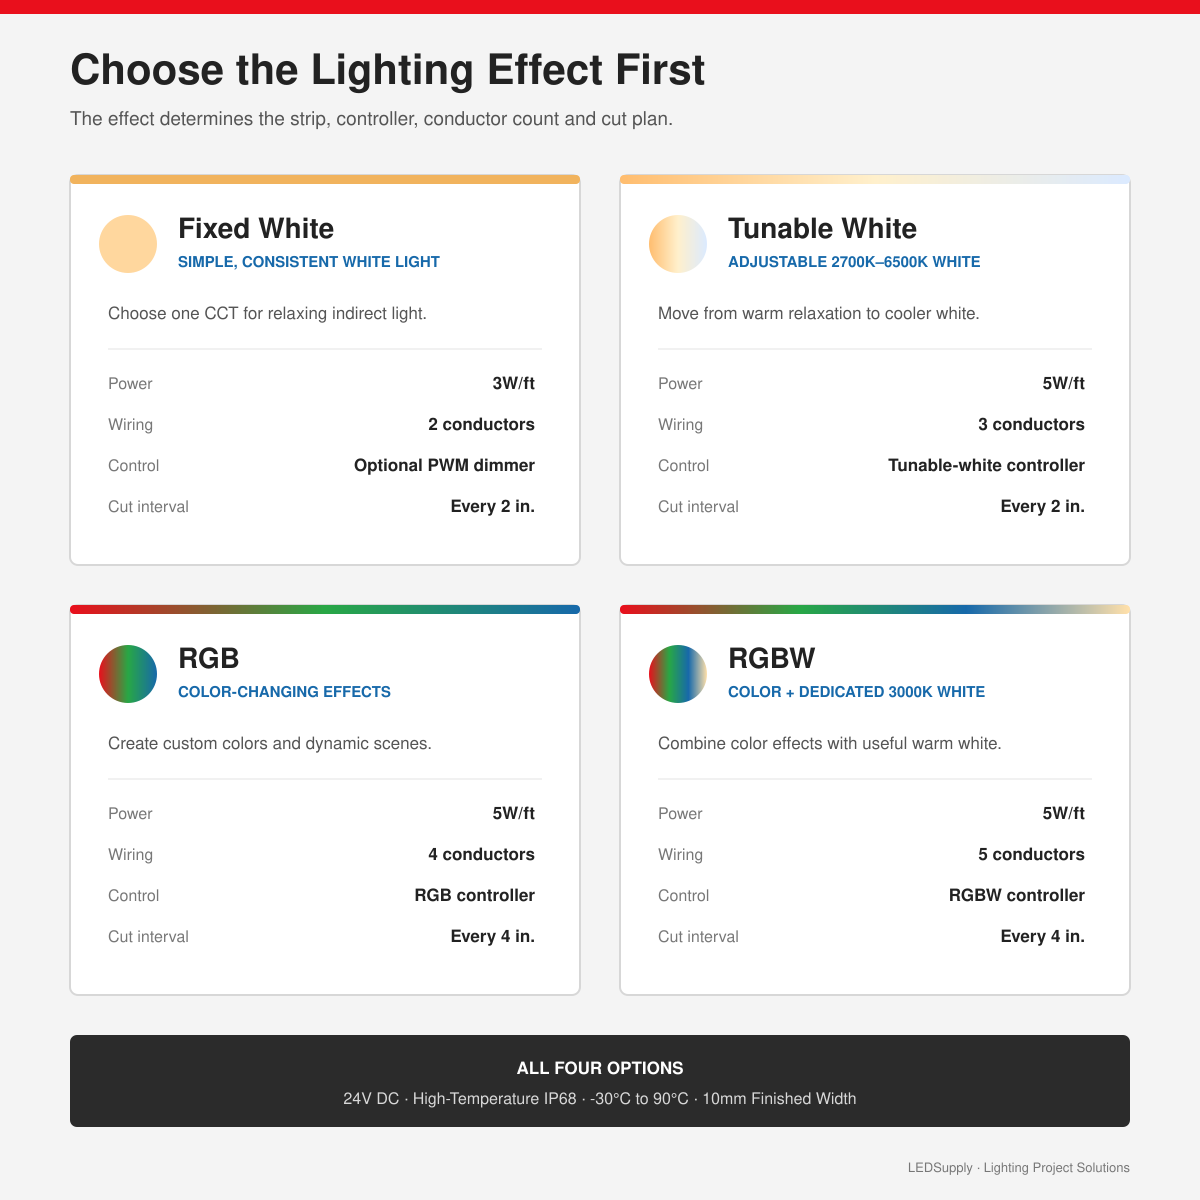
Fixed White: consistent CCT and natural-looking finishes
Fixed White sauna strip offers 2700K, 3000K, 4000K, 5000K and 6500K, with 90 CRI and 120 LEDs/m. Choose 2700K or 3000K when a warm, relaxing atmosphere is the priority. The selected CCT stays fixed; a compatible PWM dimmer can adjust output. Allow 3 W/ft (approximately 9.8 W/m).
Tunable White: adjustable atmosphere from warm to cool
Tunable White sauna strip blends warm and cool channels across 2700K–6500K, with 90 CRI and 120 LEDs/m. A compatible two-channel controller adjusts CCT and brightness. It is useful when one installation needs more than one white-light appearance. Allow 5 W/ft (approximately 16.4 W/m).
RGB: decorative color and scene control
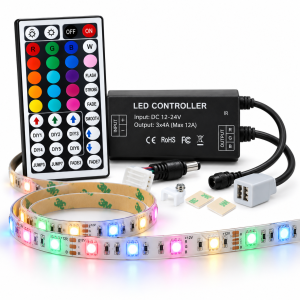
RGB sauna strip uses 60 RGB LEDs/m and three independently controlled color channels. Choose it for saturated colors and dynamic effects. RGB can mix an approximate white appearance but has no dedicated white channel; do not treat it as a substitute for a specified high-CRI white source. Allow 5 W/ft (approximately 16.4 W/m).
RGBW: color scenes plus dedicated warm white
RGBW sauna strip adds a dedicated 3000K warm-white channel to RGB, with 60 LEDs/m. A four-channel RGBW controller provides color and white-light control from the same strip. Allow 5 W/ft (approximately 16.4 W/m). Do not transfer the fixed-white or tunable-white 90 CRI specification to RGBW; confirm the RGBW white-channel specification if the project requires a particular CRI.
| Strip | White / color capability | Published CRI | LED density | Electrical load |
|---|---|---|---|---|
| Fixed White | Five fixed CCTs: 2700K–6500K | 90 | 120 LEDs/m | 3 W/ft ~9.8 W/m |
| Tunable White | Adjustable 2700K–6500K | 90 | 120 LEDs/m | 5 W/ft ~16.4 W/m |
| RGB | RGB mixing; no dedicated white | Not specified as a white-light source | 60 LEDs/m | 5 W/ft ~16.4 W/m |
| RGBW | RGB + dedicated 3000K white | Confirm if required | 60 LEDs/m | 5 W/ft ~16.4 W/m |
All four products use 24V DC, high-temperature IP68 construction and a published -30°C to 90°C operating range. W/m figures are rounded conversions from the published W/ft ratings. Review the linked product page and documentation for the selected SKU before ordering.
Step 2: Plan Uniformity, Placement and Run Lengths
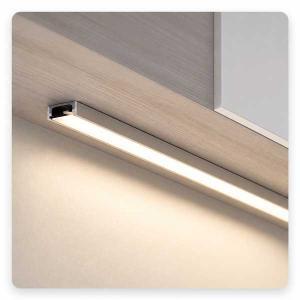
The intended result is usually an illuminated surface rather than a directly visible strip. Concealed placement beneath benches, behind backrests, under toe kicks or within coves can provide comfortable indirect illumination and integrate the light into the woodwork.
LED density is only part of optical uniformity
Higher density places LEDs closer together, but 120 LEDs/m does not guarantee a dot-free installation. Strip setback, channel depth, lens diffusion, viewing angle and the distance to the illuminated surface all affect visible LED points and glare. Wood color and reflectance also influence the perceived output and tone.
Review a representative section with the actual wood, mounting detail and lens before repeating it across a project. Check the finished effect at the intended dimming level—not only at full output—and confirm that the light source remains concealed from normal seated and standing viewpoints.
Document each run and feed point
Sketch separate runs, corners, gaps, cut locations and wire routes through the millwork. Record the feed distance from the driver or controller as well as the strip length. The published maximum continuous strip run is 32.8 ft (10 m); that is not an allowance for unlimited supply-wire distance or a guarantee of zero voltage drop.
Divide longer installations into separate parallel runs fed from the appropriate power or control point. Select wire gauge and feed locations for the calculated current and cable distance. Do not extend a single strip run beyond its documented limit by simply adding a larger driver.
Step 3: Coordinate All Five Parts of the System
A dependable sauna installation needs compatible components and a clear connection plan. Treat the BOM as one coordinated lighting system.
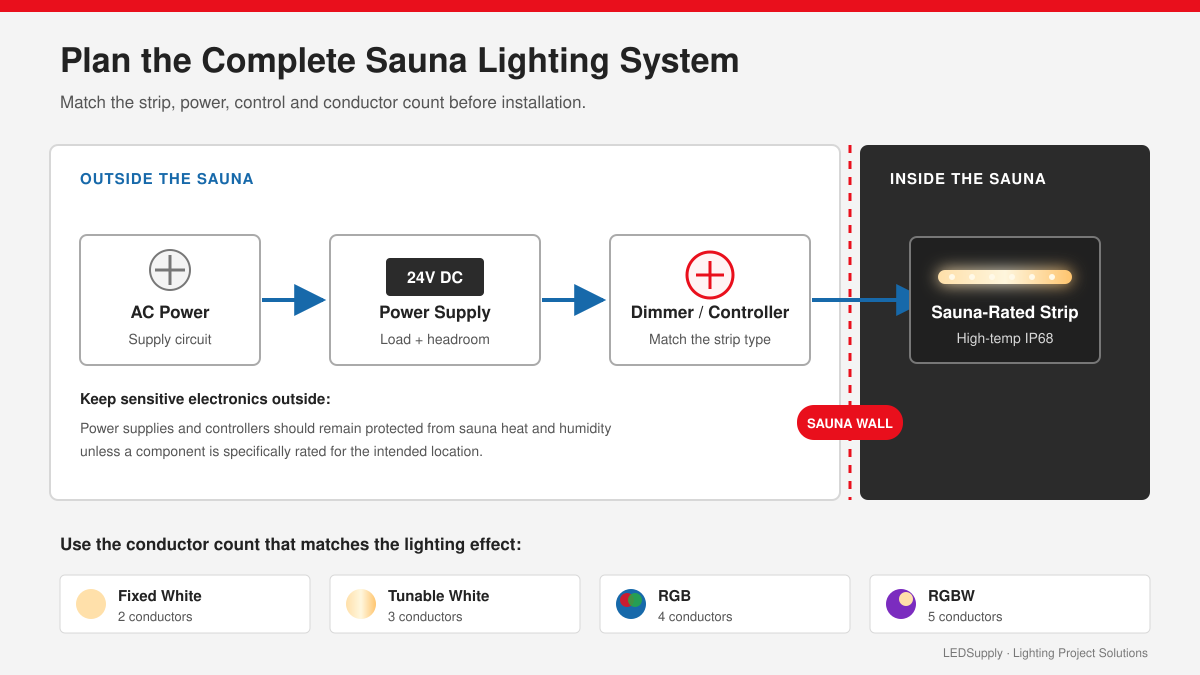
- Sauna-rated stripSpecify light type, CCT, CRI where required, output, length and cut locations.
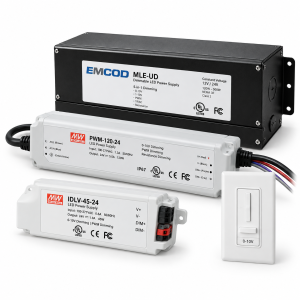
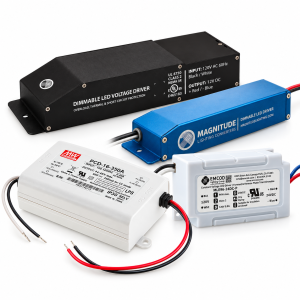
- 24V constant-voltage driverCalculate connected load, allow the required headroom and account for driver derating. Locate the driver outside the sauna.
- Compatible dimmer or controllerMatch strip type, operating voltage, channel count, dimming method and total/per-channel current.
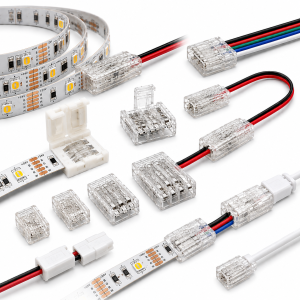
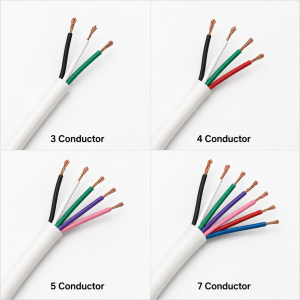
- Connections and wiringMatch connector fit, conductor count, polarity, wire gauge, current rating and sealing procedure.
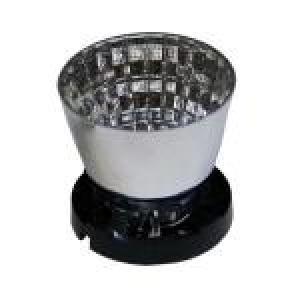
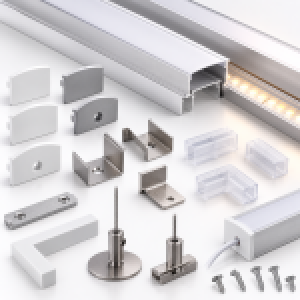
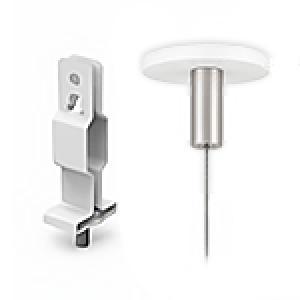
- Mounting and opticsSpecify clips or tracks, any channel and lens, mounting clearance and service access. Verify each material’s temperature suitability.
Explore power supplies and drivers, LED strip controllers, LED channels and the matched connector links in Step 5. A category listing is a starting point, not confirmation that every listed accessory is sauna-suitable.
Step 4: Size the 24V Driver for the Connected Load
Multiply each run’s length by its published W/ft rating, then add the loads sharing a driver. In metric plans, use length in meters and the corresponding W/m rating consistently. A full 16.4 ft roll calculates to 49.2 W for fixed white or 82 W for tunable white, RGB or RGBW at the published ratings.
Run load (W): length (ft) × W/ft
Combined load: sum of all runs on that driver
Example capacity allowance: combined load × 1.20
Load current (A): combined watts ÷ 24V
The examples below add 20% to the calculated load. This is a planning allowance, not a universal driver-selection rule. Follow the selected driver’s loading, ambient-temperature, ventilation and derating requirements. If a driver must remain at or below 80% loading, divide the load by 0.80 instead; that is different from adding 20%.
| Example | Strip load | Load + 20% | Illustrative capacity* |
|---|---|---|---|
| 10 ft fixed white at 3 W/ft | 30 W | 36 W | 40 W or greater |
| 16.4 ft fixed white | 49.2 W | 59.04 W | 60 W or greater |
| 10 ft tunable white, RGB or RGBW at 5 W/ft | 50 W | 60 W | 60 W or greater |
| 16.4 ft tunable white, RGB or RGBW | 82 W | 98.4 W | 100 W or greater |
*These examples are load calculations, not approved component combinations. Confirm usable output after derating, control compatibility and installation requirements. Do not assume the load is split equally between color channels or reduce the design load because the customer usually dims the strip.
For example, 82 W at 24V is approximately 3.42 A total. Check both total and per-channel controller limits; the total alone does not establish compatibility. Keep drivers and controllers outside the sauna in accessible locations that meet their own environmental ratings.
Step 5: Match Controls, Conductors and Connectors
Fixed white needs two conductors. Tunable white adds separate warm and cool channels; RGB and RGBW add further controlled channels. Confirm the actual terminal labels and polarity in the strip and controller documentation rather than relying on wire color alone.
| Strip | Conductors | Control | Cut interval | Connector source |
|---|---|---|---|---|
| Fixed White | 2 | Compatible PWM dimmer when dimming is needed | Every 2 in. | White-strip sauna connectors |
| Tunable White | 3 | 2-channel tunable-white controller | Every 2 in. | Tunable-white sauna connector |
| RGB | 4 | 3-channel RGB controller | Every 4 in. | RGB sauna connector |
| RGBW | 5 | 4-channel RGBW controller | Every 4 in. | RGBW sauna connector |
The dedicated high-temperature IP68 connector range offers solderless push-down connections for the corresponding sauna strip. Choose the configuration that suits the detail: strip-to-strip, strip-to-wire or a wired jumper. Confirm physical fit, contact arrangement, current capacity and installation/sealing instructions. Matching conductor count alone is not enough to establish compatibility.
Select the control interface as well as the controller
Decide whether the customer needs simple dimming, adjustable CCT, color scenes or multiple zones. Check low-end dimming behavior and the intended control interface with the actual driver/controller/strip combination. A single-channel dimmer cannot independently operate the warm/cool or RGB/RGBW channels.
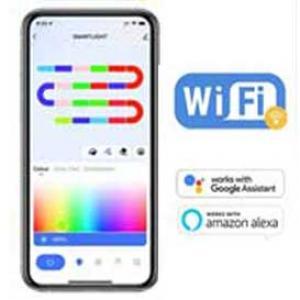
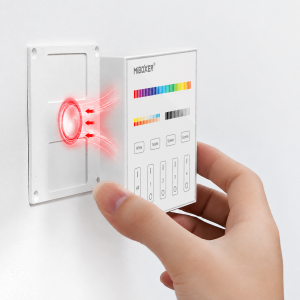
The 5-in-1 WiFi / 2.4G controller already linked in this guide supports configurable single-color, CCT, RGB and RGBW modes. Its published limits are 6 A per channel and 15 A total; verify the selected mode, wiring and connected load. The compatible 4-zone wall remote is available in different control versions, so select the version matching the required functions.
Install the controller and wall remote outside the sauna. The linked remote lists a -10°C to 40°C working range—it does not share the strip’s 90°C rating. Confirm signal performance, service access and user access before finalizing their locations.
Step 6: Specify Secure Mounting and Service Access
The strip includes adhesive backing, but adhesive alone is not a complete mounting specification for a hot, moist location or an unfinished wood surface. Plan mechanical support with suitable clips or tracks, while leaving access to terminations and wiring transitions.
If using a channel or rail, check the finished strip dimensions, connector clearance and the required optical setback. The current product pages specify a 10mm finished strip width; select to the actual product drawing and connection detail rather than the nominal PCB width alone.
- Thermal suitability: verify rails, lenses, clips, adhesives, cable insulation and fasteners for their actual installation conditions.
- Optical performance: coordinate channel depth and lens diffusion with the desired uniformity; avoid a directly visible source where comfortable indirect light is intended.
- Mechanical support: prevent wiring from pulling on strip contacts or cut ends. Do not pinch the housing or force bends at solder joints.
- Serviceability: preserve access to drivers, controllers, connections and replaceable lighting sections after the millwork is complete.
Follow the sauna manufacturer’s installation instructions, component documentation and applicable electrical requirements. Have line-voltage connections and required protection addressed by a qualified electrical professional. This guide is a planning aid, not a substitute for project-specific installation approval.
Step 7: Plan Cuts, Terminations and Environmental Sealing
Cut only at the marked locations: every 2 inches on fixed-white and tunable-white strip, or every 4 inches on RGB and RGBW. Check the marked intervals against the required finished length before finalizing the millwork detail.
Cutting the factory-sealed strip compromises the seal at that end. A field connection needs the termination and sealing procedure specified for the selected strip/connector combination. Fitting a connector or applying a generic sealant does not, by itself, establish that the finished assembly meets IP68 requirements.
Define the connection method, materials, preparation, cure requirements where applicable and final inspection before work begins. If the project needs a documented environmental rating after customization, confirm the approved process with LEDSupply before ordering or cutting.
Reduce on-site preparation before the millwork is closed
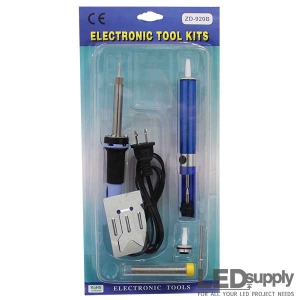
LEDSupply can provide cut-to-length preparation, soldered leads, custom wiring and assembly support. Send run lengths and lead locations early so the connection and sealing requirements can be reviewed with the BOM.
Final Sauna Lighting Specification Checklist
Confirm before ordering
- The strip’s thermal range and ingress protection suit the actual mounting location.
- Light type, CCT, CRI requirement and intended dimming level are agreed.
- A representative mounting detail has been reviewed for glare, visible LED points and uniformity.
- Every run, cut, gap, feed point and cable route is documented.
- Driver capacity includes the combined load and required headroom/derating.
- The controller meets both total and per-channel limits and supports the intended control method.
- Wire gauge, conductor count, connector fit and sealing procedures are coordinated.
- Drivers, controllers and the wall remote have suitable locations outside the sauna.
- Tracks, channels, lenses and other mounting materials suit the temperature and moisture conditions.
- Connections remain serviceable and the installation follows the relevant manufacturer and electrical requirements.
Bring LEDSupply the Project, Not Just a Part Number
If the layout and specifications are complete, use the product and connector links above to build your order. If the project needs review, share a sketch, individual run lengths, feed distances, desired CCT or color effect, control preferences, installation conditions and required lead locations.
LEDSupply can review the BOM, help resolve driver and control compatibility, prepare a custom quote and discuss cut-to-length strip, soldered leads, custom wiring or assembly. The objective is a lighting system that supports both dependable illumination and the relaxing atmosphere your customer expects.
Specify the Complete Sauna Lighting System
Compare the four Element Series options or use the project tool to share the details needed for component selection and project assistance.
Shop Sauna LED Strips Get Help with Your Strip Project View High-Temperature Collection