


DIY LED Projector Box Project
Skill Level:
EASY
Estimated Time:
2-Hours
Cost:
Under $35
Tools
Drill
Screwdriver
Wire Strippers
Solder Iron
Exacto knife
Materials
1:
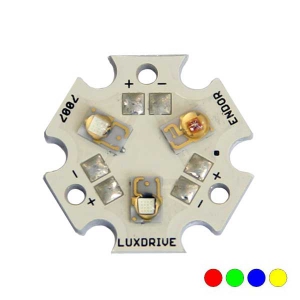
Red Luxeon Rebel Star - #07040-PD000-F1:
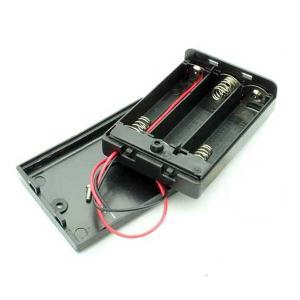
2AA Battery Holder - #BH-2AA-SWITCH1:
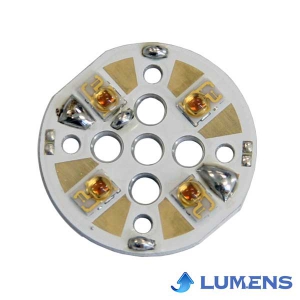
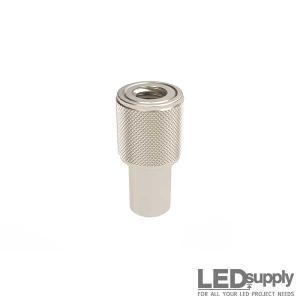
MicroPuck - #02009A1:
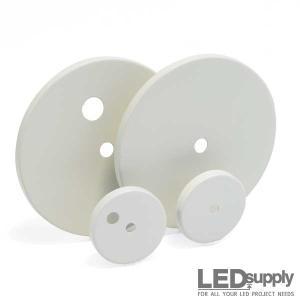
Project Box - #PBOX-CP1:
VHB Tape - #VHB-TAPE1: Can of Spray Paint
1: Foam Letters
Step 1
First determine the design you'd like to project. Larger solid shapes work well, such as block letters. We suggest using stickers, but you could also apply masking tape and then cut out a custom design with an exacto knife.
Step 2
The design will need to be applied to the inside of the clear box top so the image is projected in the right direction. It also helps to protect your image by having it inside of the box. We chose to use foam stickers, and also cut a few simple stars out of some scrap pieces of sticker materials. Apply these to the inside of the cover.
Step 3
Now spray over your design with black spray paint. Cover the entire inside of the box top and your design.
Step 4
Allow the paint to set up a little so it does not run, then carefully remove your stickers or design. You can wait until the paint is completely dry, but it may make it more difficult to remove your stickers or design. When everything is removed, you should be left with your design being the only clear parts of the cover.
Step 5
Install your switch into the clear box. Solder the battery pack positive wire to one side of the switch. Solder the positive input of the micro puck to the other side of the switch.
Step 6
Solder the battery pack negative wire to the micropuck input
Step 7
Solder the output from the micropuck to the LED star appropriate pads.
Step 8
Place the LED star in the center of the box, using double sided tape to hold it in place.


- Low Prices
- Knowledgeable Support
- 100K+ Orders Shipped
- Free Shipping
- Bulk Discounts
- 2,000+ 5-Star Reviews
LEDSupply is a trusted provider of engineered LED lighting solutions, serving OEMs, integrators, contractors, and lighting professionals with technical expertise, application support, and carefully curated high-performance products. Backed by decades of industry experience, our team helps customers move from components to complete lighting solutions with confidence. Learn More


Shipping
LEDSupply does NOT profit from the shipping or handling of your order!
Orders received before 3PM EST will be safely packaged and quickly shipped the same business day. If your order is NOT shipped the same business day, LEDSupply will offer a 5% discount off your next order.
All orders SHIP FROM:
296 Beanville Road
Randolph, Vermont 05060
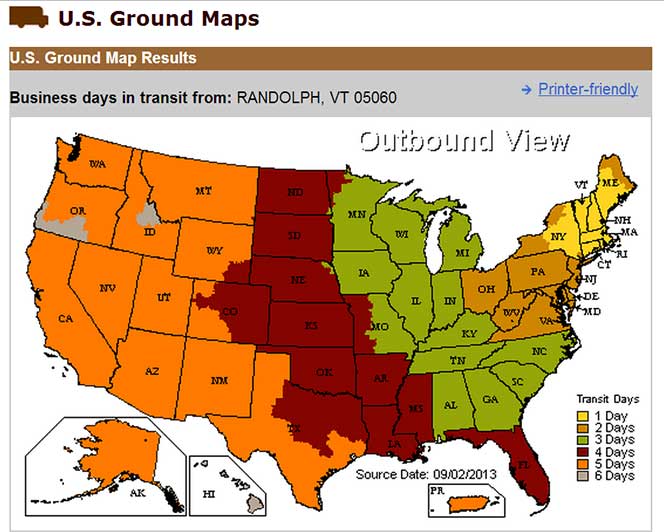
See respective ZONE maps below for SPECIFIC delivery time to your location:
Any order that does not qualify for free shipping, will by default include a discount of equal value to the free shipping offer.
The shipping offered is meant to provide the widest variety of shipping options at the lowest price:
- FREE USPS First Class SHIPPING on orders under 13oz & >$49.99
- $5.99 USPS First Class on orders under 13oz & <$49.99
- $15.99 2-Day SHIPPING on orders under 2lbs
- $11.99 GROUND SHIPPING on orders under 2lbs
- $39.99 Standard Overnight SHIPPING on orders under 2lbs
- $49.99 Priority Overnight SHIPPING on orders under 2lbs
- Real-Time Rates are calculated for all International shipments
- *Base Rate + $1.99/lb for orders over 2lbs
USPS Priority Delivery Zone Map: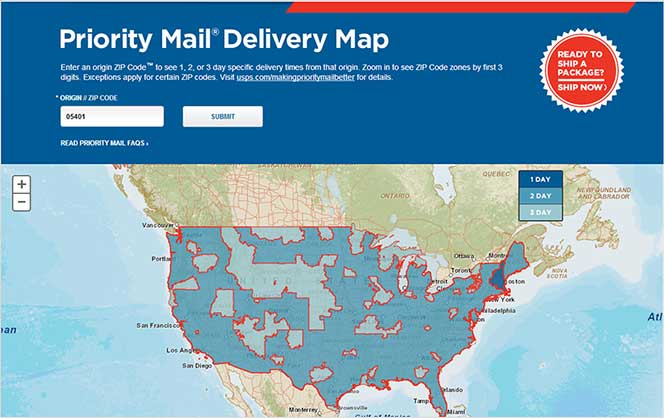
FedEX Ground Delivery Zone Map: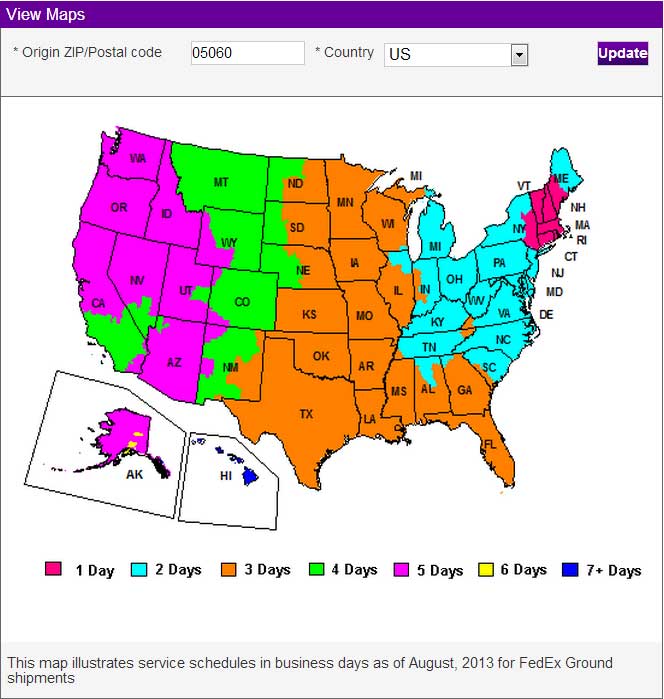
UPS Ground Delivery Zone Map: